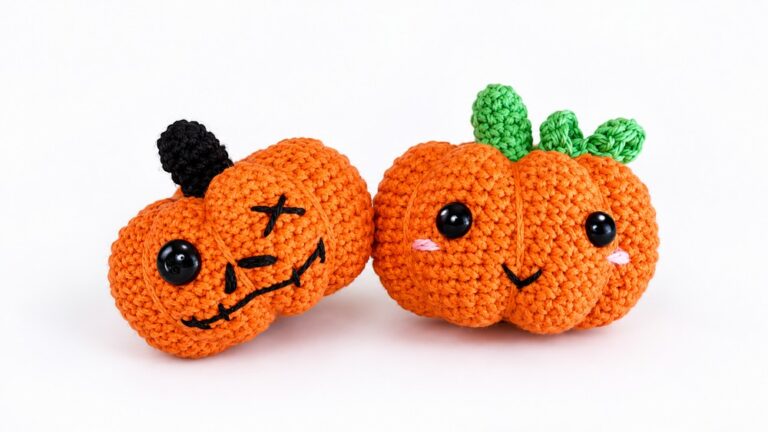
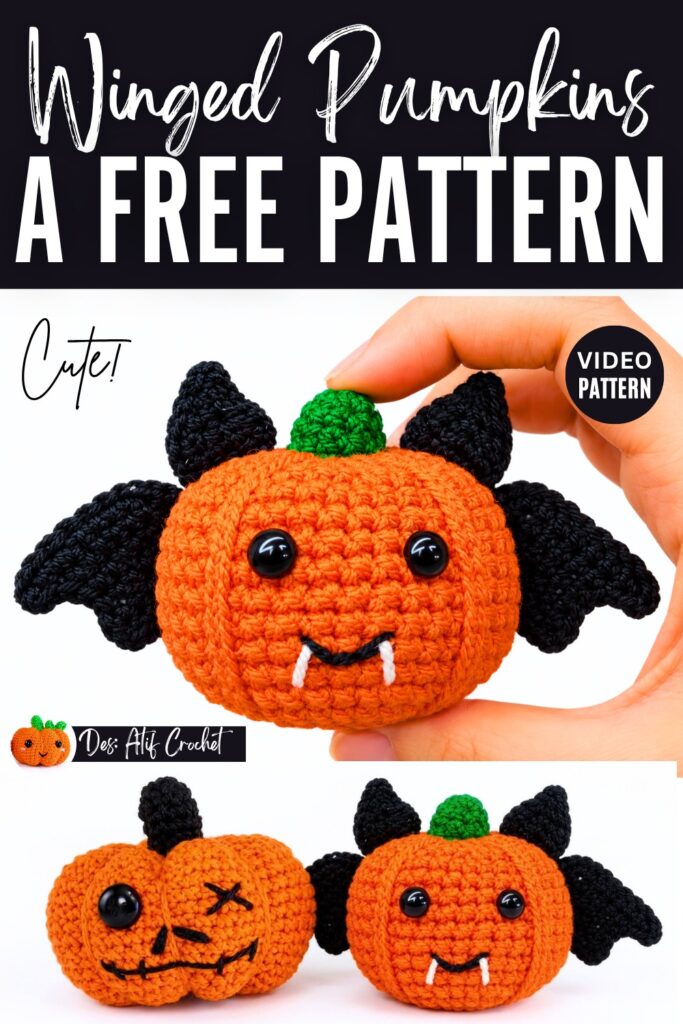
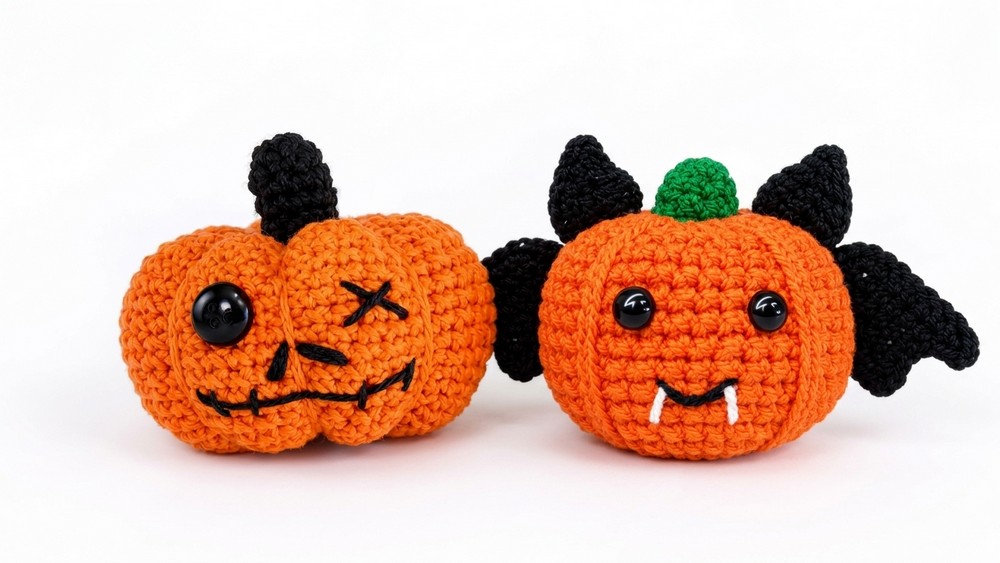
This video shows how to crochet a cute Halloween bat pumpkin keychain. First, crochet an orange ball for the pumpkin body using single crochet increases and decreases, stuff it, and pull yarn over the sides to make pumpkin grooves. Next, crochet a small green stem and attach it to the top.
Then, crochet two black bat wings with textured edges and two pointed bat ears. Finally, glue the ears and wings to the pumpkin body, add 6 mm eyes, embroider a smiling mouth with white fangs, and attach a keychain ring.
Difficulty Level: Advanced Beginner to Intermediate
Materials
-
Yarn: Worsted/DK weight yarn in orange, green, black, plus small amounts of white yarn and black embroidery thread
-
Crochet Hook: 2.50 mm
-
Fiberfill / Polyester stuffing
-
Safety eyes: 6 mm (or black beads)
-
Tapestry / Yarn needle
-
Scissors
-
Hot glue gun and lighter (for securing ends)
-
Keychain ring with jump ring and pliers
Pattern Abbreviations
-
MR: Magic ring
-
ch: Chain
-
sc: Single crochet
-
inc: Increase (2 sc in the same stitch)
-
dec: Decrease (single crochet 2 together)
-
sl st: Slip stitch
-
hdc: Half double crochet
-
dc: Double crochet
-
puff st: Puff stitch
Difficult Stitch Tutorial: Puff Stitch (Puff St)
The puff stitch is used along the wing border to create the pointed bat-wing tips:
-
Yarn over, insert your hook into the designated stitch (or through both edges of the folded wing).
-
Yarn over and pull up a loop, pulling it up to match the height of your chain-2.
-
Yarn over, insert the hook into the same stitch, and pull up another loop to the same height.
-
Yarn over, insert the hook into the same stitch a third time, and pull up another loop.
-
Yarn over and pull through all loops on your hook.
-
Chain 1 to lock the puff stitch closed.
Video Tutorial
Written Pattern?
Now, following a tutorial is easier than ever! Just use the ask feature of the tutorial.