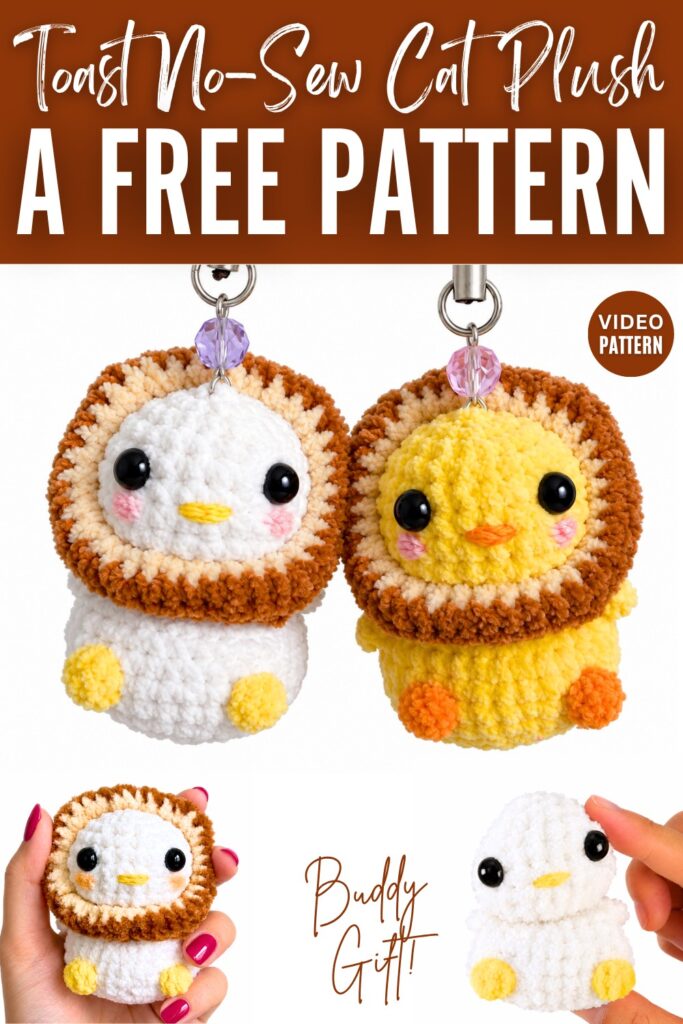
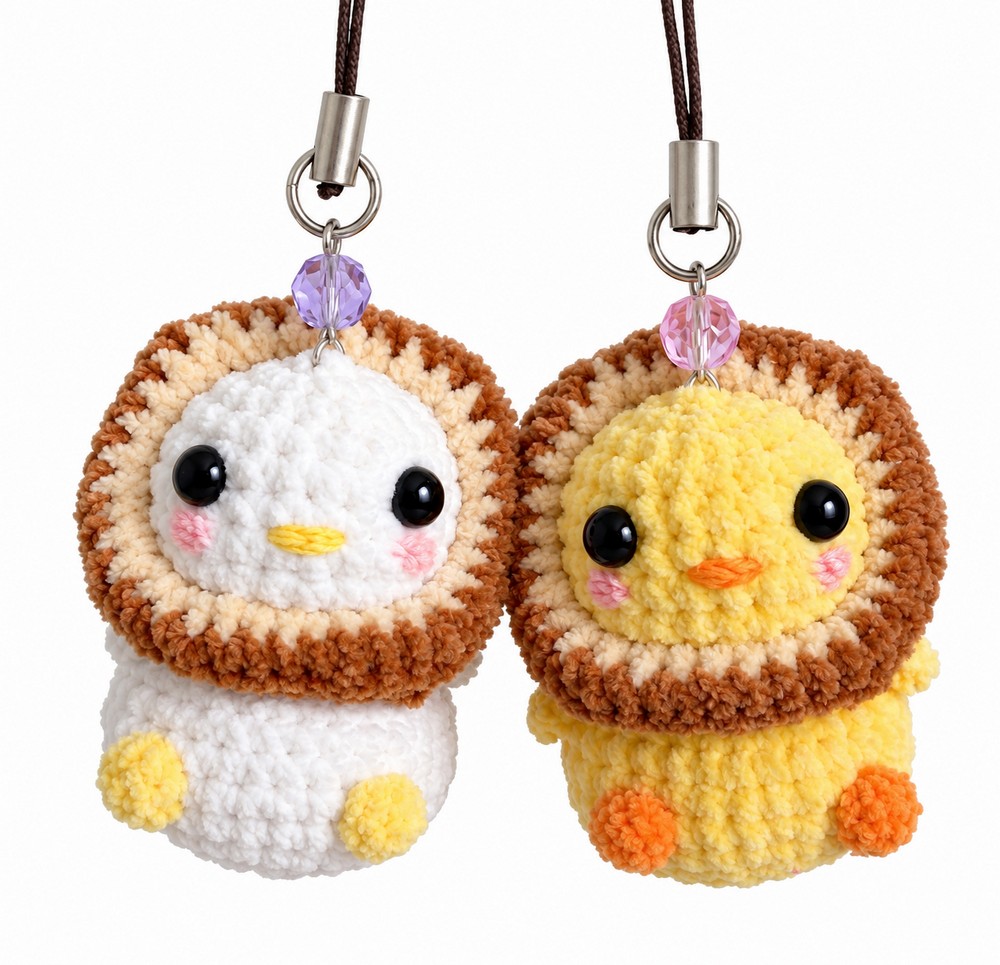
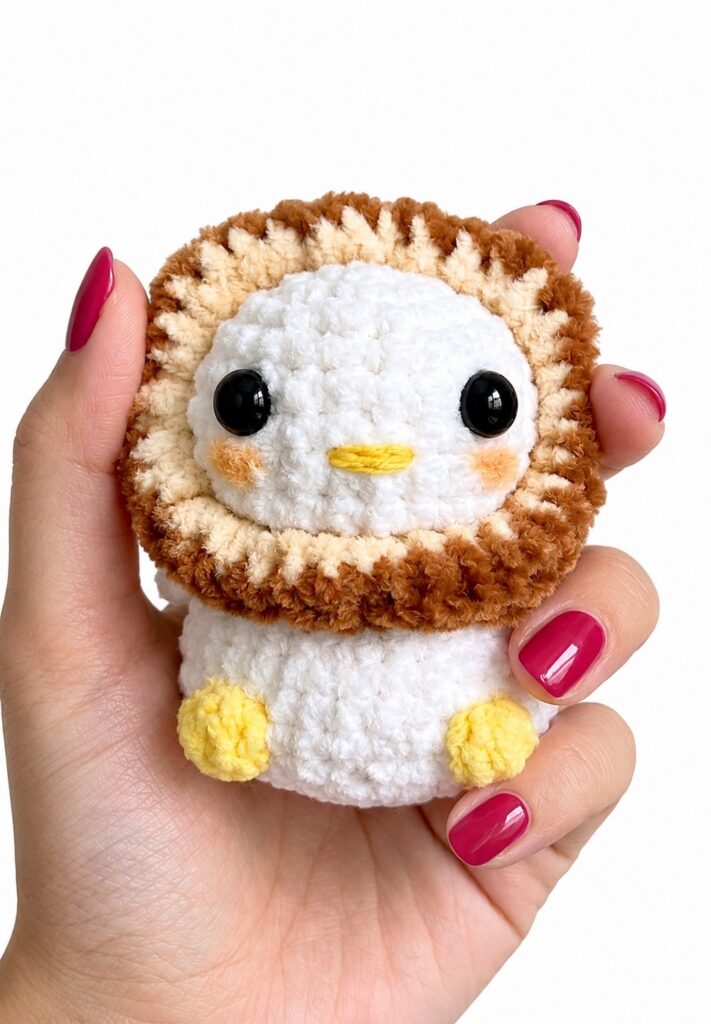
Learn how to crochet a CUTE, no-sew and quick amigurumi “Toast Duck” keychain plushie with a step-by-step tutorial for beginners. Choose from the yellow and the white plushie with the removeable toast headgear. You begin with the duck’s head worked from a magic ring, inserting safety eyes before working a flanged neck and tiny wings directly in the front loops.
The body continues seamlessly, incorporating yellow 5-dc bobble stitches for the webbed feet before stuffing and closing the base. Next, you embroider a simple yellow beak.
Finally, you crochet two square toast crust rings using corner increases, sew them together while lightly stuffing with fiberfill, and slide the wearable toast collar over the duck’s head.
Difficulty Level & Explanation
Difficulty Level: Advanced Beginner to Intermediate
Materials & Pattern Abbreviations
Materials
-
Yarn: Edelweiss thin velvet yarn or 5-ply milk cotton (White, Yellow, Cream/Tan, and Light Brown)
-
Crochet Hook: 3.00 mm
-
Eyes: 8 mm safety eyes
-
Notions: Polyester fiberfill stuffing, tapestry needle, scissors, and optional keychain hardware
Pattern Abbreviations
-
MR: Magic ring
-
R: Row / Round
-
ch: Chain stitch
-
st: Stitch
-
sl st: Slip stitch
-
sc: Single crochet
-
inc: Increase (2 sc in the same stitch)
-
dec: Decrease (sc 2 together)
-
hdc: Half double crochet
-
dc: Double crochet
-
FLO: Front loops only
-
Bob: 5-dc Bobble stitch
Detailed Stitch Guide: 5-dc Bobble Stitch (Bob)
Used in Round 16 with yellow yarn to create the duck’s protruding feet:
-
Yarn over, insert the hook into the indicated stitch.
-
Yarn over and pull up a loop (3 loops on hook).
-
Yarn over and pull through the first 2 loops (leaving 2 loops on hook; 1 incomplete double crochet formed).
-
Repeat steps 1–3 four more times into the exact same stitch. You will have 6 loops on your hook.
-
Yarn over (switch back to the main body color here if transitioning) and pull through all 6 loops on the hook in one smooth motion.
-
Continue to the next single crochet firmly to pop the bobble outward toward the front of the work.
Video Tutorial!
Written Pattern?
Now, following a tutorial is easier than ever! Just use the ask feature of the tutorial.