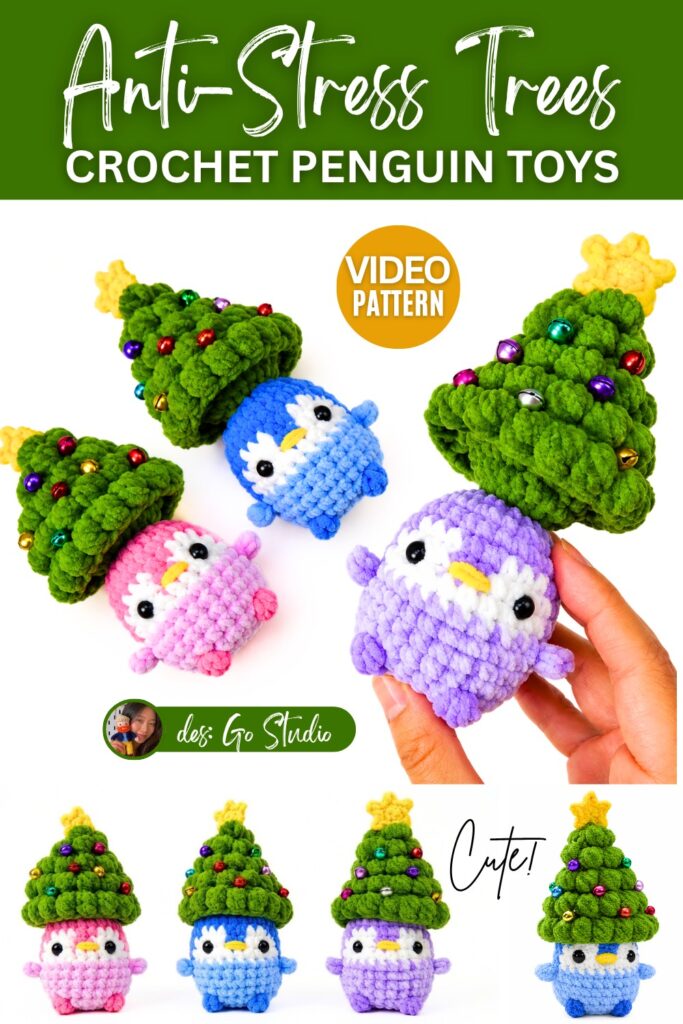
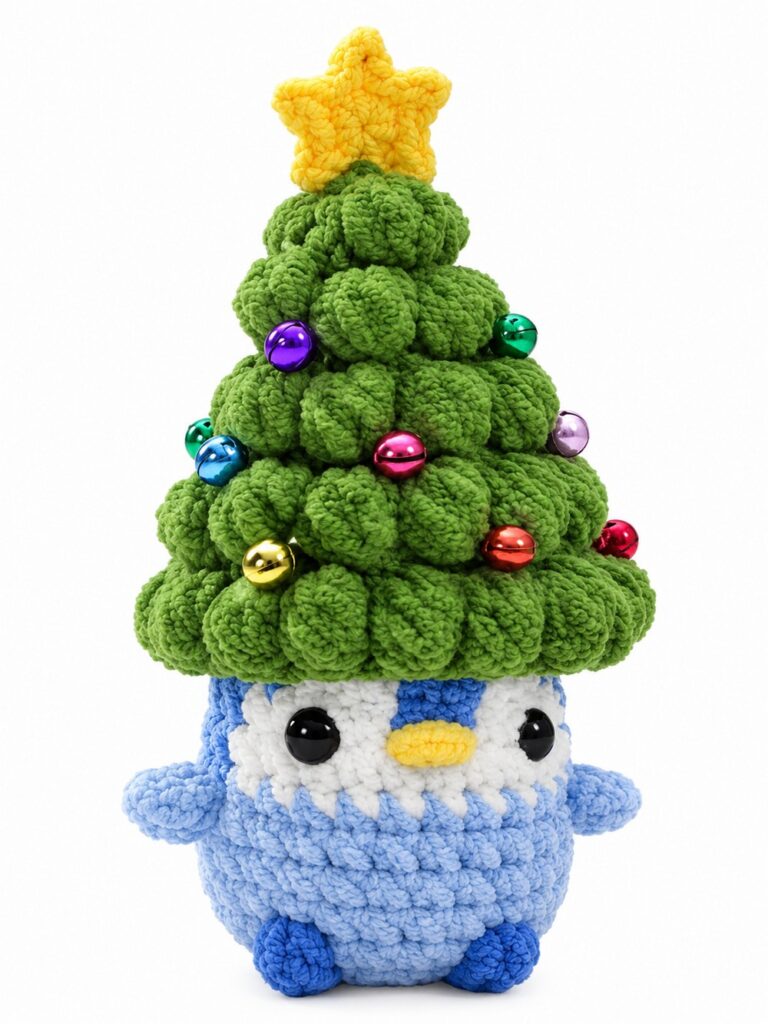
Learn how to crochet an adorable holiday amigurumi: a chubby little penguin wearing a textured Christmas tree hat. The project begins with the Christmas tree, crocheted from the top down using 4-dc bobble stitches to create fluffy evergreen branches.
Without stuffing the tree, dark blue and white yarns are joined to build the penguin’s face and body using color changes. Delicate wings and 3-dc bobble feet are added before the body is stuffed and closed. Finally, an embroidered beak, safety eyes, a miniature yellow star, and optional craft bells finish the festive plush.
Difficulty Level: Intermediate
Why:
-
Multiple Special Stitches: Requires creating both 4-dc and 3-dc bobble stitches cleanly in chenille yarn.
-
Loop Manipulation: Uses both Back Loops Only (BLO) and Front Loops Only (FLO) to create layered tree foliage, wings, and body transitions.
-
Tapestry Colorwork: Involves frequent, seamless color changes mid-round between blue and white to form the penguin’s face.
-
Continuous Construction: The penguin is worked directly out of the base of the tree rather than sewn on separately.
Pattern Abbreviations
-
R – Row / round
-
st – Stitch
-
ch – Chain stitch
-
sl st – Slip stitch
-
sc – Single crochet
-
inc – Increase (2 sc in one stitch)
-
dec – Decrease (sc 2 stitches together)
-
hdc – Half double crochet
-
dc – Double crochet
-
FLO – Front loops only
-
BLO – Back loops only
-
BOB – Bobble stitch (4-dc or 3-dc bobble)
Materials
-
Thin chenille yarn (Green, Dark Blue, Light Blue, White, Yellow)
-
3.00 mm crochet hook
-
7.00 mm safety eyes
-
Fiberfill stuffing
-
Stitch markers
-
Yarn needle
-
Scissors
-
Fabric glue / hot glue
-
6 mm miniature craft bells (optional)
Detailed Stitch Instructions: Bobble Stitch (BOB)
1. 4-dc Bobble Stitch (Used for the Christmas Tree branches)
-
Yarn over, insert hook into the stitch, yarn over, and pull up a loop (3 loops on hook).
-
Yarn over and draw through the first 2 loops (2 loops remain on hook).
-
Repeat steps 1 and 2 in the same stitch three more times. You will have 5 loops on your hook.
-
Yarn over and pull through all 5 loops on the hook.
-
Secure by working the next single crochet firmly to push the bobble toward the right side.

One Comment